Wednesday, November 10, 2010

the fire door frame installation

 This is the external fire door frame. The frames were manufactured with brackets on either side to allow them to rest on the wall frames. Both sides have been secured with bolts, one side has been 'mudded up' to help keep it in place during construction.


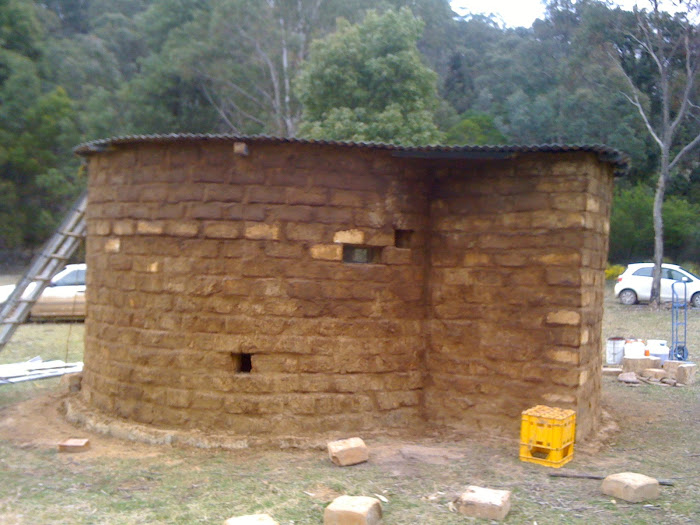
Below, both ofthe fire door frames have been installed. The outer door is on the right (and the door to the inner room is on the left, yes).
Note the additional 'lip' made of mud bricks on which the outer door is positioned (on the far side of the doorway). As far as I can recall, that lip is there to provide a surface for the door frame to sit on, as the walls were slightly too narrow or far apart for the door to rest on the wall with out them....I'll have to check that. Either way, it WAS a deliberate design solution and factored in to the original plans.


This is the inner door.


The doors have pegs on their bases so they can 'key' into cement.


This picture makes me feel a little sea sick, but I'll include it because it shows the hinge of the door frame. The door will open inward when it's installed.

Monday, November 8, 2010

steel cross beams


This is a view of the main room to the air lock. (external door on far left). Steel beams embedded in mud above the doorways. No bolts or fasteneners are used as the weight of the roof (2 tonnes of earth on top of galvanised iron) will keep the beams in place. 
The two doors have already been fastened to the tops of the walls (but not cemented in at the base yet)


steel centre post and horizontal support beam

 This picture shows the horizontal support beam being levered up into position. Note the slots in the top layer of bricks, there are two of these built into to the top layer of brick work, at opposite sides of the building. 

These slots will house each end of the horizontal support beam which will be secured in place with mud. Extra stability is given by a centre post (see next photo).

 Note that the beam has two bits sticking out the top half way along..the beam will be turned over when it's in place and those bits will point downwards to connect to the centre post.


A hole was dug in the centre of the main fire bunker room and the centre post roughly installed. It still needs to be lined up properly with the horizontal support beam above it.

The centre post has been constructed with its own stablising peg at the base, which will allow it to be embedded into cement.


After the centre post (vertical) is properly attached to the horizontal support beam (with those braces noted earlier) it is ready to have it's base cemented in place.


Wednesday, September 22, 2010

The Basic Plan

The Basic Plan


As you can see, we did not use AutoCad or even metric measurements for the fire room. After much research and many draft designs we decided that a round room, with an airlock on one side would be best for the following reasons:

  • mainly curved surfaces means heat should disperse around the building (less surfaces and angles for heat to trap and focus)
  • structure can be self supporting without need for metal or wood reinforcement which reduces cost and the problem of protecting these materials from heat and fire
  • it looks great and is less imposing on the landscape
  • we think round buildings are easier to make 
Also, building above ground was a better option for our circumstances. Being in a wombat inhabited area means that an underground bunker would be prone to midnight wombat invasions and territory wars, not to mention the problem of waterproofing and keeping the room dry.
     The basic shape was inspired by my misinterpretation of a photo of a watertank with simple airlock built on to it from the following site:

    http://www.babble.com.au/2009/02/09/nagging-wife-saves-family-from-bushfire/